Why Loading Speed Is Not the Problem
Your product page loads in 2.5 seconds. That is fast enough. The problem is what happens in those 2.5 seconds. Your shopper sees a blank white screen, assumes the page is broken, and hits back. By the time your images render, they are already gone.
The fix is not making your page faster. The fix is making the wait feel shorter. Loading skeletons do that by showing greyed-out placeholders where content will appear, so the brain perceives the page as “loading” rather than “broken.” But most stores either skip skeletons entirely or use them badly. Here are five tweaks that make skeleton screens actually work.
1. Match the Skeleton Shape to the Real Content
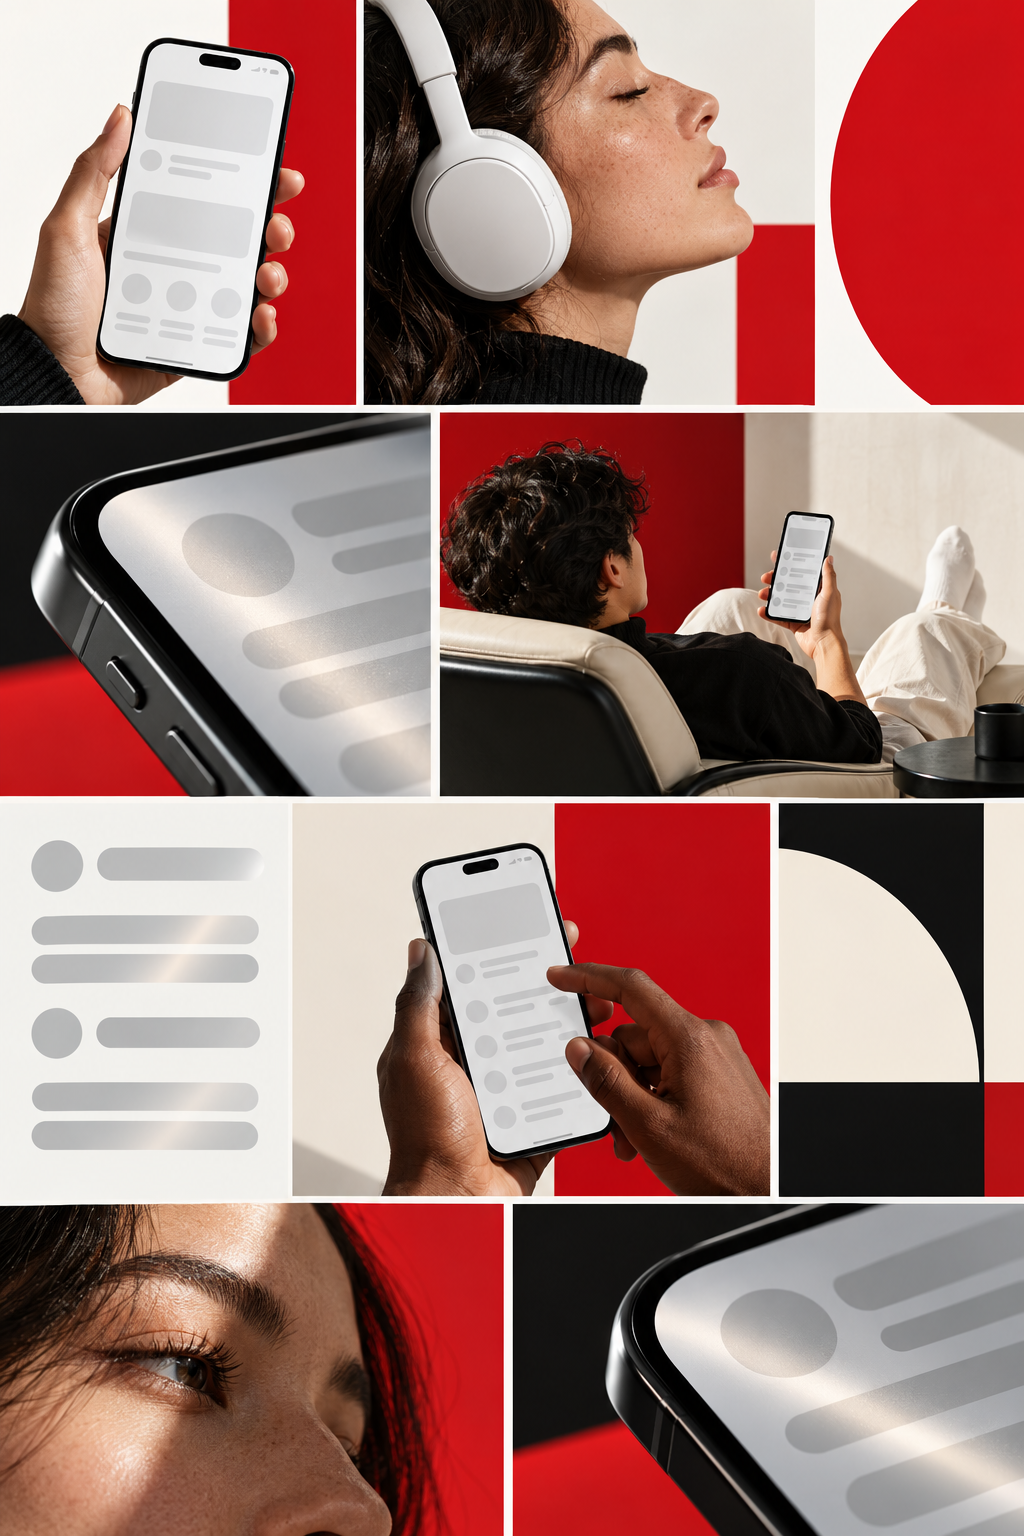
The most common mistake: a generic loading spinner or a single grey bar that says “loading.” Neither tells the shopper what is coming. A skeleton should be a wireframe of the actual layout. If your product page has a large image on the left, a title, a price, and a buy button on the right, your skeleton should show a grey image block on the left and grey text lines on the right in roughly the same proportions.
This matters because of the “layout shift” problem. If the skeleton is a spinner and the real content is a 600px image, the page jumps when the image loads. That jump feels janky. If the skeleton already occupies the same space, the transition is seamless.
How to do it: Use CSS to create grey blocks with the same dimensions as your real elements. Add a subtle shimmer animation. The block for your product image should be the same aspect ratio. The blocks for your text should be roughly the same width as your average headline and price.
2. Animate with a Shimmer, Not a Spinner
A shimmer effect (a light gradient that sweeps across the grey block from left to right) communicates progress. A spinner communicates waiting. Shoppers are more patient when they see movement in the direction of content arriving. The shimmer should take 1.5 to 2 seconds per cycle. Faster feels frantic. Slower feels frozen.
The shimmer gradient should go from your skeleton base colour (usually #e0e0e0 or #eeeeee) to a slightly lighter shade (#f5f5f5) and back. Not white. A white flash is too aggressive and looks like a glitch.
.skeleton {
    background: linear-gradient(90deg, #e0e0e0 25%, #f0f0f0 50%, #e0e0e0 75%);
    background-size: 200% 100%;
    animation: shimmer 1.8s infinite;
    border-radius: 4px;
}

@keyframes shimmer {
    0% { background-position: -200% 0; }
    100% { background-position: 200% 0; }
}
3. Stagger the Reveal, Do Not Dump Everything at Once
When your page loads, do not swap all skeletons for real content in one flash. Stagger the reveal so the most important elements appear first. On a product page, that means:
- Product image (first thing the shopper wants to see)
- Product title and price (second thing they scan for)
- Buy button (the action they will take)
- Reviews and description (supplementary content)
Each element should fade in over 200 to 300 milliseconds, with a 100ms delay between each. This creates a sense of the page “building itself” rather than loading all at once. It feels intentional and designed, not like the server finally responded.
4. Never Use Skeletons for Content Under the Fold
Skeletons are for content the shopper can see immediately. Anything below the fold should load normally. If you skeleton-screen the entire page including content the shopper has not scrolled to, you are wasting resources and creating unnecessary complexity.
A simple rule: skeleton the first viewport only. Everything else loads as the shopper scrolls. This keeps your initial render fast and avoids the situation where a shopper scrolls down and sees grey blocks for content that should have loaded by now.
5. Add a Minimum Display Time of 400ms
If your page loads in 150 milliseconds, the skeletons flash for a split second and vanish. That looks worse than no skeleton at all. It creates a visual flicker that reads as a glitch.
The fix: enforce a minimum skeleton display time. If the real content loads in under 400ms, hold the skeleton for the full 400ms before swapping. This sounds counterintuitive (why slow down the page?) but the goal is perceived speed, not actual speed. A smooth 400ms skeleton-to-content transition feels faster and more polished than a 150ms flash.
const MIN_SKELETON_TIME = 400;
const startTime = Date.now();

// When content is ready:
const elapsed = Date.now() - startTime;
const wait = Math.max(0, MIN_SKELETON_TIME - elapsed);
setTimeout(revealContent, wait);
The Quick Checklist
- Skeleton shapes match real content layout (same sizes, same positions)
- Shimmer animation at 1.8s per cycle, light grey gradient, not white
- Content reveals in order: image, title, price, button, then extras
- Skeletons only for the first viewport, not the whole page
- Minimum 400ms display time to prevent flicker on fast loads
None of these require a plugin or a third-party tool. They are CSS and a few lines of JavaScript. If your theme lets you add custom code to the product page template, you can implement all five in under an hour.
Want more like this? Join MOKU Club for free. Weekly resources, early access to new guides, and occasional templates you can actually use. Join below.